
Travel vlogging has become one of the most powerful ways to document experiences and share stories with the world. That said, creating vlogs with CapCut makes the process more accessible than ever. For us, a well-edited travel video captures not just places, but also emotions. Whenever we watch our vlogs, we can relive special moments like wandering random streets, tasting something new, or watching a sunset in a place we’d never been before.
The good news? You don’t need expensive gear or complicated software to bring those moments to life. With CapCut, you can turn simple clips into polished, engaging vlogs right from your phone. Today, we’ll walk you through the exact process we use, from organizing footage to exporting a final video that feels like a story!
Also read: 13 Best Cameras for Video Recording
Step 1: Gather & Import Your Clips
To create great travel vlogs, it all starts with the footage you capture. We’ve learned that variety matters more than perfection, especially when it comes to creating vlogs with CapCut. Instead of filming long, continuous shots, we recommend capturing short clips from different angles. Think wide landscapes, close-up details, and candid moments. These small snippets give you more flexibility when editing and help your final video feel dynamic and alive.
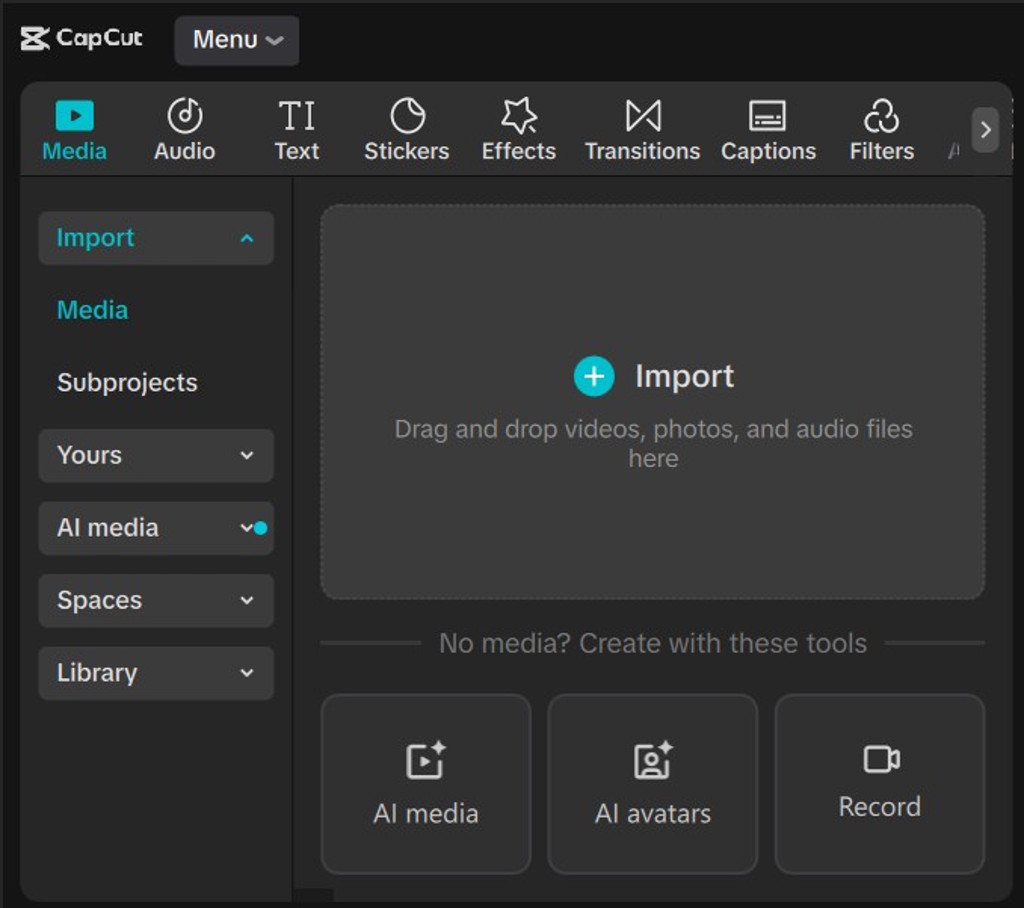
Once your clips are ready, you can easily import them into CapCut. Just start a new project and select the clips you want to include. At this stage, we like to import more footage than we think we’ll need. This gives you room to experiment later, so you can refine your story without feeling limited by a lack of content.
See on:
Step 2: Trim & Arrange Your Story
Editing your videos on CapCut is where your vlog truly begins to take shape. Normally, we start by trimming out unnecessary parts, like shaky footage, awkward pauses, or anything that doesn’t add value to the story. Keeping clips short and purposeful helps maintain viewer attention, especially on fast-paced platforms like TikTok or Instagram.
After trimming, you arrange your clips in a logical sequence. Think of your vlog as a mini narrative. It should have an introduction or hook, a middle, and an ending. You might begin with your arrival, move into exploration and highlights, and finish with a closing moment. For us, even a simple structure like this can make our content feel intentional and engaging.
See on:

Step 3: Add Music & Sound Effects
When you watch travel vlogs from top creators, chances are they always use music to make their vlogs more emotional and interesting. In fact, music is one of the most important elements in vlogs. We always choose a track that matches the mood of the destination. For instance, something upbeat for city adventures or calm for relaxing destinations like the best beach resorts in Cartagena, Colombia. The right music can instantly elevate your video from average to memorable.
In CapCut, adding music is simple, but syncing it properly is where the magic happens. We like to align clip transitions with the beat of the music, especially during drops or rhythm changes. This small detail creates a satisfying flow that keeps viewers engaged and makes your vlog feel professionally edited.
Aside from music, you should also add sound effects. While often overlooked, they can actually dramatically elevate the overall viewing experience. We like to layer subtle sounds, like footsteps, waves crashing, street noise, or even a soft camera click, to make each scene feel more immersive and real. When used thoughtfully alongside your background music, these small audio details can help bring your visuals to life.
See on:
Step 4: Apply Filters & Color Grading
Color grading is what gives your vlog its visual identity. Based on our experiences, even simple adjustments like increasing warmth or contrast can dramatically improve how our footage looks. Filters in CapCut are a great starting point, especially if you’re new to editing and want quick results. You don’t have to pay for them, too, as CapCut offers tons of free filters.
That said, we recommend going a step further by fine-tuning individual settings such as brightness, saturation, and contrast. The goal is consistency. When all your clips share a similar look and feel, your video appears more cohesive and professional.
See on:
Step 5: Add Text, Titles & Subtitles
Text elements on CapCut help provide context and enhance storytelling. We often use titles to introduce locations or mark different parts of the journey. Simple captions like “Day 1” or “Sunset in Rio” can add structure and make your video easier to follow, especially if you’re visiting places featured in our guide to the best beachfront hotels in Rio de Janeiro.
Furthermore, subtitles are especially useful if your vlog includes talking segments. Many viewers watch videos without sound, so adding text ensures your message still comes across. We suggest keeping fonts clean and minimal to avoid distracting from the visuals, letting your footage remain the main focus.
See on:
Step 6: Add Transitions & Effects
Transitions and effects on CapCut can enhance your vlog, but they should be used thoughtfully. We prefer subtle transitions like fades or dissolves because they create a smooth viewing experience without overwhelming the content. This becomes even more important when creating vlogs with CapCut, where it’s easy to overuse built-in effects. Overdoing it can make your video feel cluttered and less professional.
When used sparingly, effects like zoom-ins or motion blur can also add a cinematic touch. We usually apply them to highlight specific moments or create emphasis. The key here is balance, as your visuals should support the story, not distract from it.
See on:
Step 7: Export
Once you’re done editing on CapCut, you can export your video with the right settings to make sure it looks its best. We usually stick with 1080p resolution and a frame rate of 30 or 60 FPS, which provides a good balance between quality and file size. This method helps our videos looking sharp and consistent in different platforms. Last but not least, don’t think too much or wait too long to publish your vlog. The more vlogs you create, the better your storytelling and editing skills will become over time.
See on:
Is CapCut good for vlogging?
Yes, CapCut is great for vlogging, especially for beginners and mobile creators. It’s easy to use while still offering powerful features like transitions, effects, and music syncing.
Is CapCut enough for YouTube?
Yes, CapCut is more than enough for YouTube, especially for beginners and intermediate creators. It offers all the essential editing tools you need to produce high-quality, engaging videos.
Is CapCut basically TikTok?
No. CapCut is a video editing app, while TikTok is a platform for sharing and discovering videos. They’re connected (both owned by ByteDance), but they serve different purposes.
Some images on this article are copyrighted by CapCut.